Building the Workshop
My workshop took 2 years to build - from planning to completion. The building is 900 square feet in total; 300 of that is for a guest house, and 600 is for the workshop.


The Complete Build Overview
This is the ultimate workshop that has been years in the making, and construction is finally done! I've learned so much through this process as well as some valuable lessons. This video shows the entire construction from start to finish.
Building Breakdowns
These videos detail each aspect of the workshop build
BREAKING GROUND
After a long and difficult permitting process we finally broke ground on the workshop! First we have to dig a pit 4 feet deep and then recompact the dirt before pouring a foundation.
Compacting the Ground
On the second week of construction on the new workshop, we filled in the giant pit from last week! We are moving right along with getting this building built. Next week we hope to get our building permit and start work on the foundation.
Prepping the Foundation
We have a building permit and have completed all the prep work for the foundation. Tomorrow we pour the concrete slab!
Pouring Concrete
We poured a concrete slab! It all happened so fast and I think this video doesn't do any justice showing how hard these guys worked to make it happen. The next step is to build the building!
Framing
There is a building! Not quite finished yet but the skeleton is here and complete! Still so much work left to get this building workshop ready, though I'm stoked with how it's all looking so far. Next step is to throw a roof on it, then work on all the guts like electrical and plumbing.
Installing the Roof
We put a roof on the new structure. I first had to paint the fascia board the day before because it would be more time consuming to paint later on. The roof went on really quickly and the end result looks great!
Sheathing
In this installment of the shop build, I got to work sheathing the remaining walls of the shop. This included 2 exterior walls as well as part of the interior dividing wall.
Insulation
In this part of the workshop build, I installed wall pillows in the entire building filling in nearly every crevasse with insulation. For a majority of the building, I also had to install a vapor barrier (say that 5 times fast).
Drywall
In this part of the workshop build, I hung new drywall on one wall, made it super smooth, and finished it with fresh new paint. If you have any questions about drywall feel free to ask in the comments. In the next video I'll show you how I installed all the plywood interior.
Plywood Interior Walls
I hung all of the interior plywood on the walls and ceiling. It took 5 days to complete and now the inside of the workshop looks fantastic!
Siding and Painting
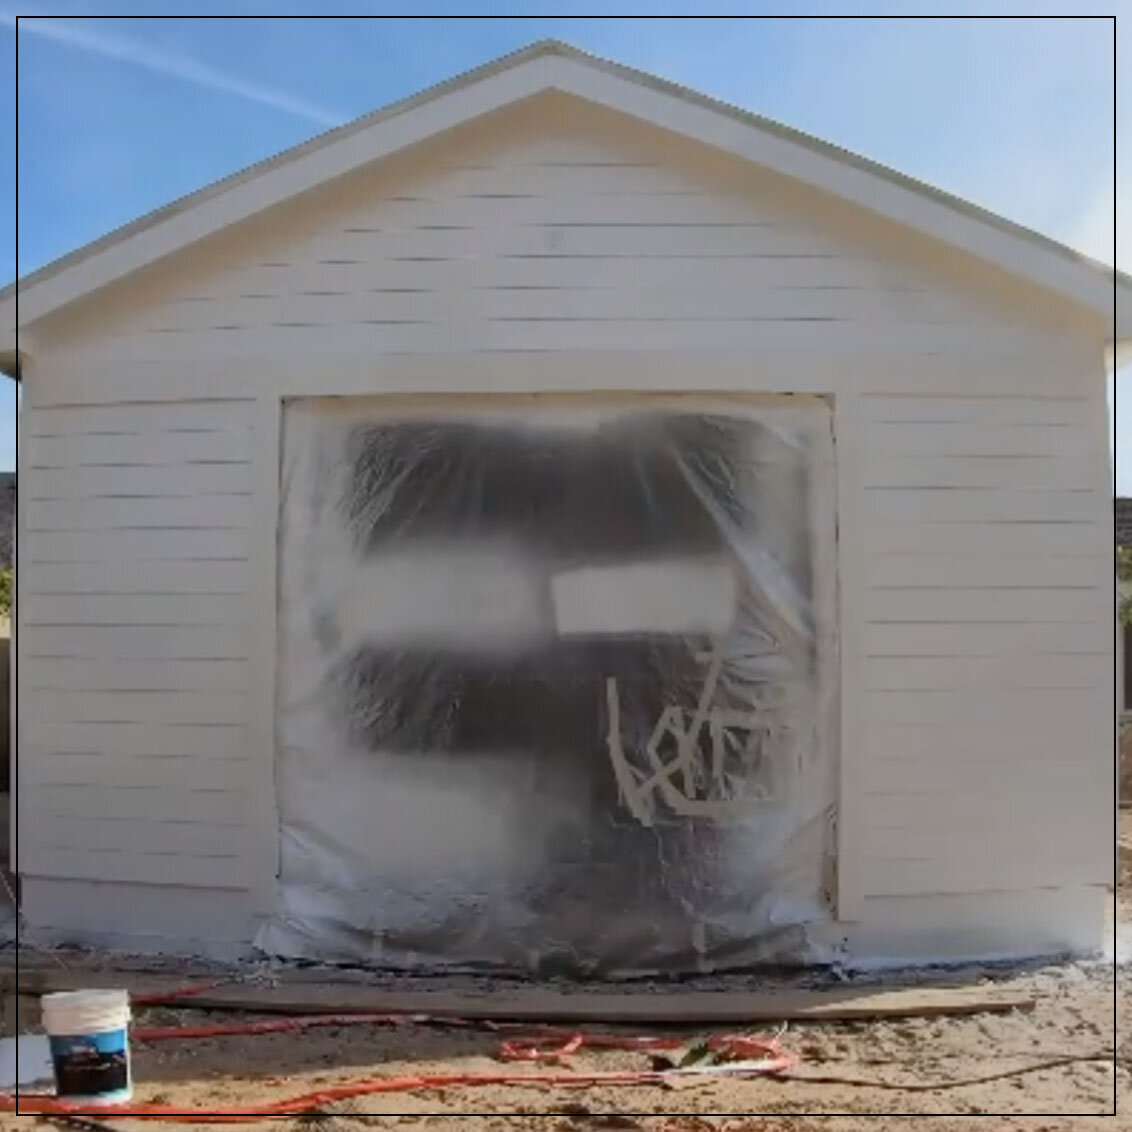
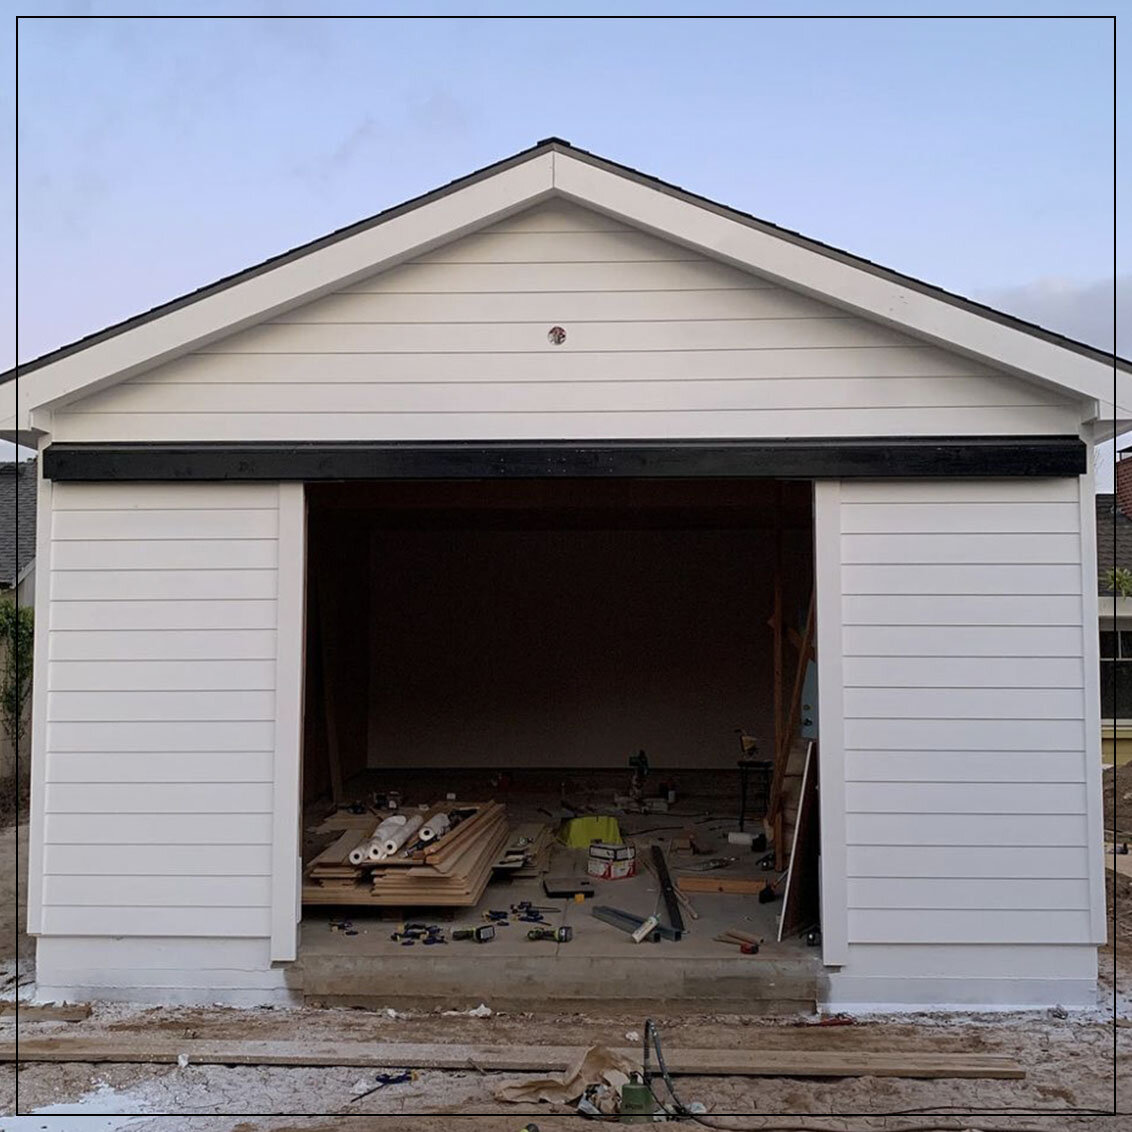
The exterior siding is installed. Then, I painted the entire outside, and hand painted the doors. I explained some of the issues I had along the way and show how I worked through them.
Barn Doors
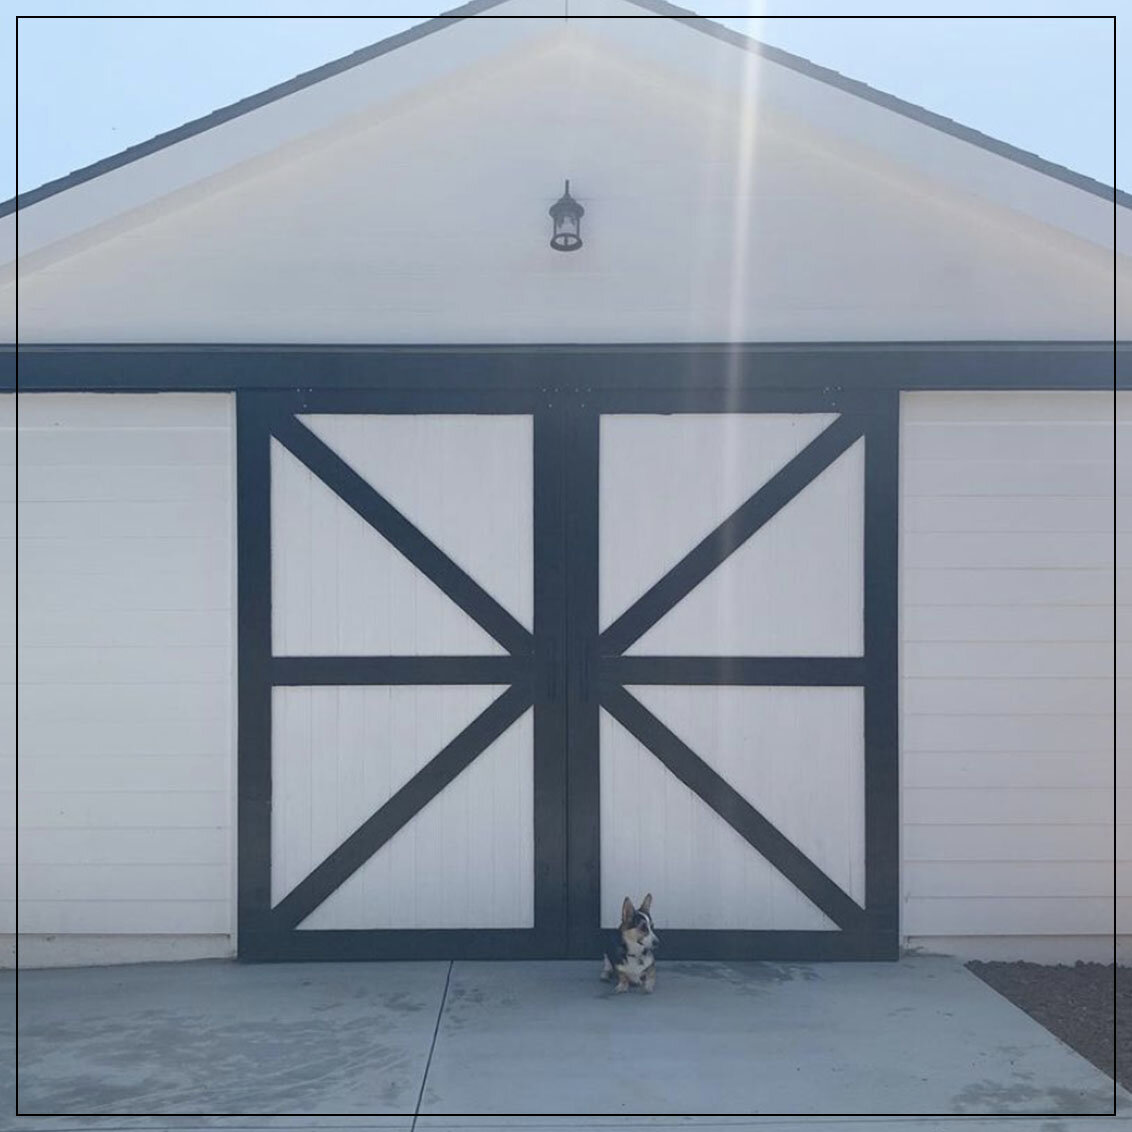
I custom built barn doors and an overhang cover to keep the elements out. There were many aspects to building these doors, so I thoroughly explained every element of the build. I'm super pumped with how these doors turned out!
Concrete Driveway
The last major step is completed: pouring the concrete driveway. There were a few snags with some heavy rain, but we got it done and it looks great! Now I can drive all the way up to the workshop and unload materials directly. There is proper drainage in the concrete so no more flooding! Almost at the finish line with this building.
